Installing django CMS
This is a short setup chapter. Its only goal is to get you to a running
python -m manage runserver with the CMS welcome screen visible at
http://localhost:8000/. Everything after this is the real tutorial.
Prerequisites
You need:
Python ≥ 3.10 and
pipworking from your shell.Django familiarity at the level of the Django tutorial — settings files,
manage.py, apps, templates.A text editor and a terminal.
You do not need: prior django CMS experience, a database server, or any frontend tooling. The tutorial uses SQLite.
Install django CMS
Open a terminal and run:
python3 -m venv .venv
source .venv/bin/activate  # On Windows: .venv\Scripts\activate
pip install django-cms
djangocms coffeesite
The djangocms command is a shortcut that creates a fully wired
django CMS project. Behind the scenes it:
Runs
django-admin startproject coffeesitewith the official cms-template project template.Installs the packages the template depends on: djangocms-text (rich-text editor), djangocms-frontend (Bootstrap 5 support), django-filer (media files), djangocms-versioning (draft / published versions), djangocms-alias (reusable content blocks), djangocms-simple-admin-style (admin theming).
Runs
python -m manage migrateto create the SQLite database.Prompts you to create a superuser.
Runs
python -m manage cms checkto verify the install.
The tutorial uses the project name coffeesite. If you pick a
different name, substitute it everywhere you see coffeesite below.
Run the development server
cd coffeesite
python -m manage runserver
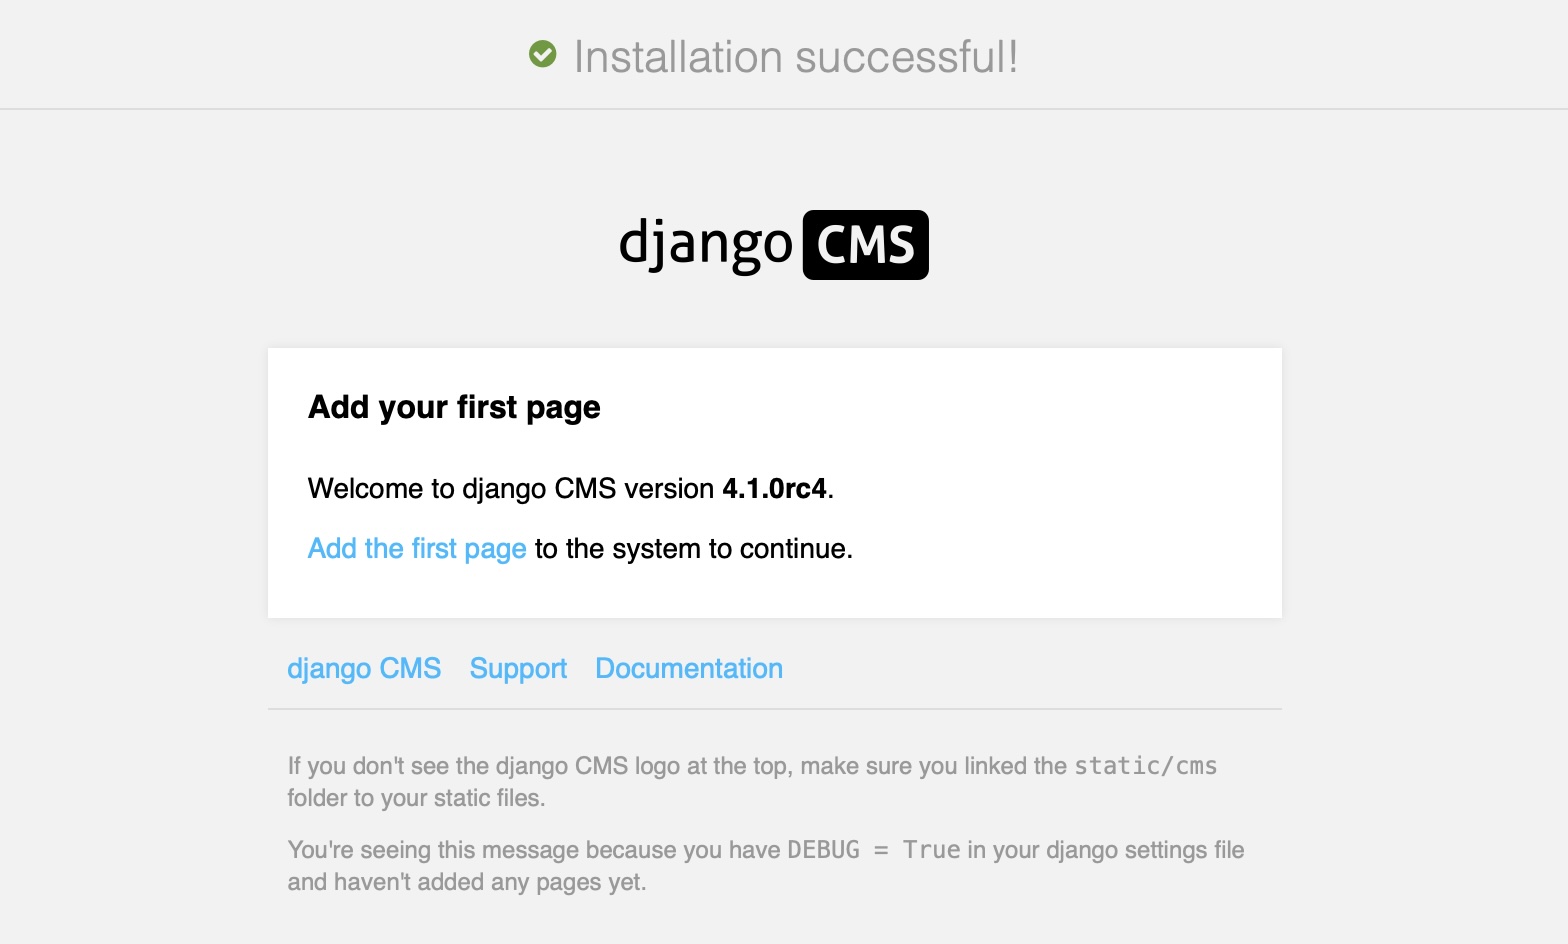
Open http://localhost:8000/ in your browser. You should see the
django CMS welcome page with the toolbar across the top. Log in with
the superuser credentials you created during the install.
Your project layout
The coffeesite/ directory now contains a working Django project:
coffeesite/
    LICENSE
    README.md
    db.sqlite3
    coffeesite/
        static/
        templates/
            base.html
        __init__.py
        asgi.py
        settings.py
        urls.py
        wsgi.py
    manage.py
    requirements.in
You can delete or replace LICENSE and README.md for your own
project. requirements.in is where you add new dependencies — we
will add one in chapter 3.
The tutorial assumes:
the project package is called
coffeesite,a Django app called
coffeeshopthat you will create in chapter 3,DEBUG = Truewhile you work.
Want to install by hand?
If you’d rather see every line of settings that the djangocms
shortcut writes for you, work through
Install django CMS manually (“Install django CMS manually”)
instead. You will arrive at the same place; the rest of this tutorial
works identically with either install path.
In the next chapter you will create your first CMS page.