1. Installing django CMS
The setup is incredibly simple, and in this django CMS tutorial, we’ll take you through the first five steps to help get you started.
1.1. What you need to get started
First of all, you don’t need to be a senior developer or have prior experience as a developer with Django or Python to create your first django CMS demo website. The added benefit of django CMS, is it’s free.
Before we begin the django CMS tutorial, you will need to know that there are several ways to install django CMS for free.
You can either set up a project on Divio Cloud, which is fast and useful for people without a technical background and a good starting point to experience the CMS User Interface.
As another option, you can set up the project using docker. It is a good way for a developer locally without an external vendor and we use this option in this django CMS demo.
The last option is to install django CMS manually by using virtualenv. This option is a good way for developers that want to install everything by hand to understand better and have full control.
For the sake of this demonstration we will use Option 2, please read on.
1.2. Setup Docker (Step 1)
Install docker from here
1.3. Run the demo project in docker (Step 2)
Info: The demo project is a minimal django project with some additional requirements in the requirements.txt.
Open the terminal application on your computer and go to a safe folder (i.e. cd ~/Projects), then:
git clone https://github.com/django-cms/django-cms-quickstart.git
cd django-cms-quickstart
docker compose build web
docker compose up -d database_default
docker compose run web python manage.py migrate
docker compose run web python manage.py createsuperuser
docker compose up -d
During the installation process, you will be prompted to enter your email address and set a username and password.
Open your browser and insert http://localhost:8000/admin there you should be invited to login
and continue with Step 4: create your first page
1.4. Create your first page (Step 3)
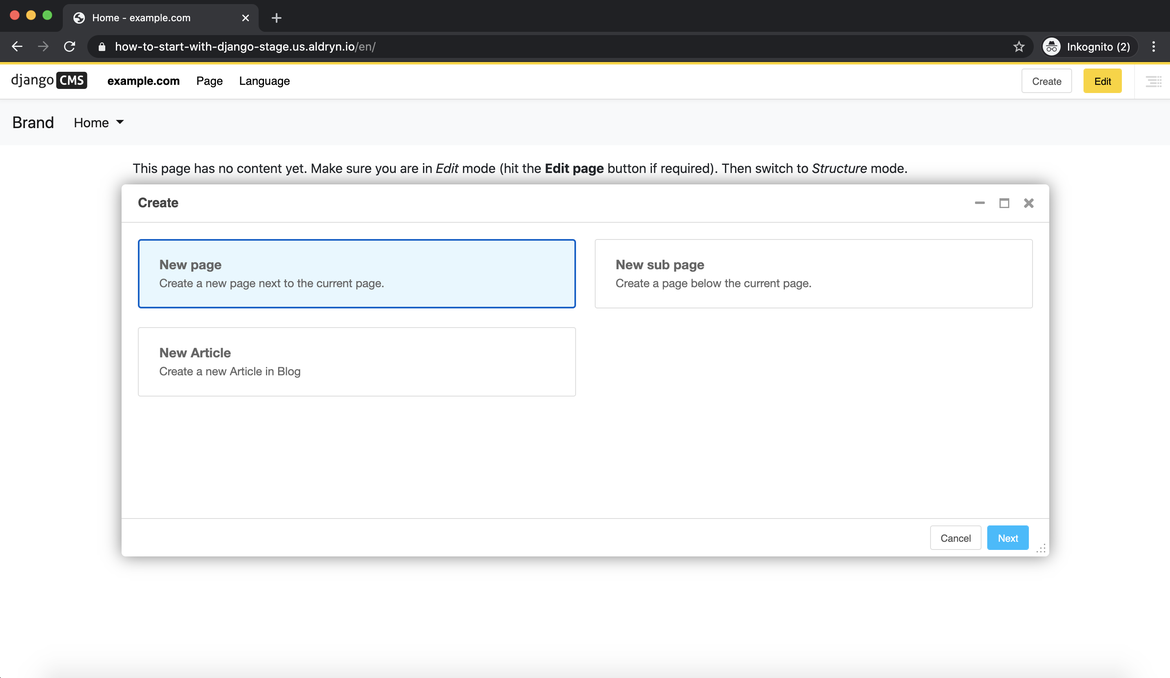
Once you login you can press Create on the top right.
Then you will see a pop-up window where the “New page” is marked blue.
Press New Page and select Next.
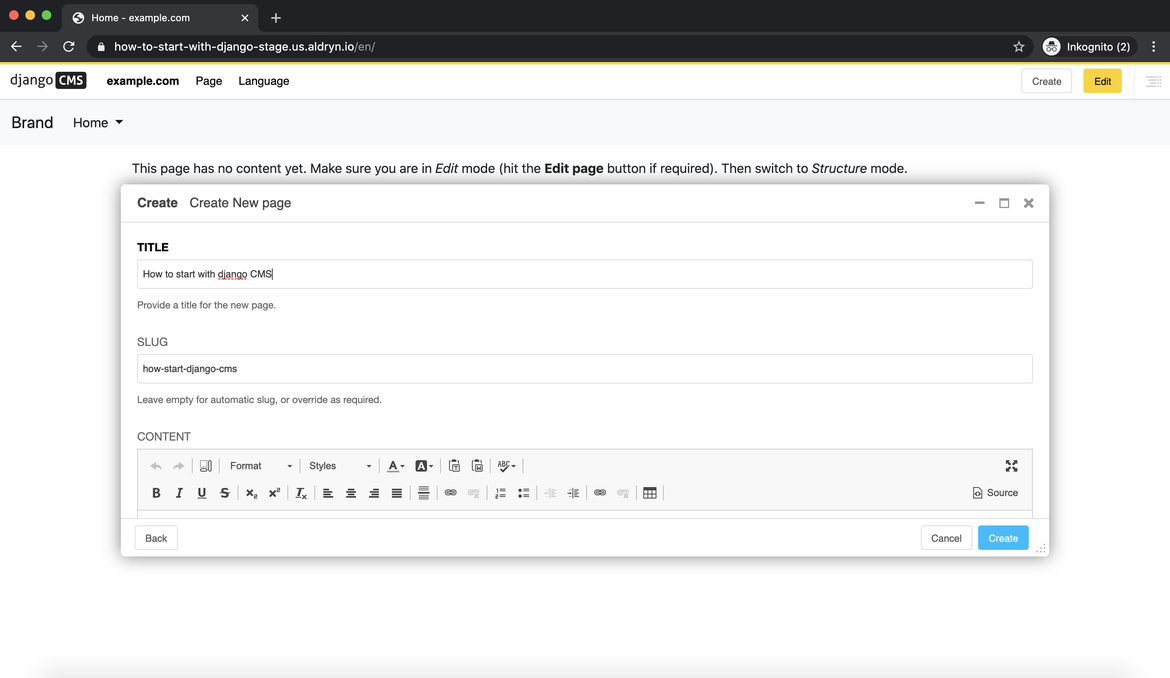
After selecting Next, you will add in your title and some basic text content for the new page, click Create.
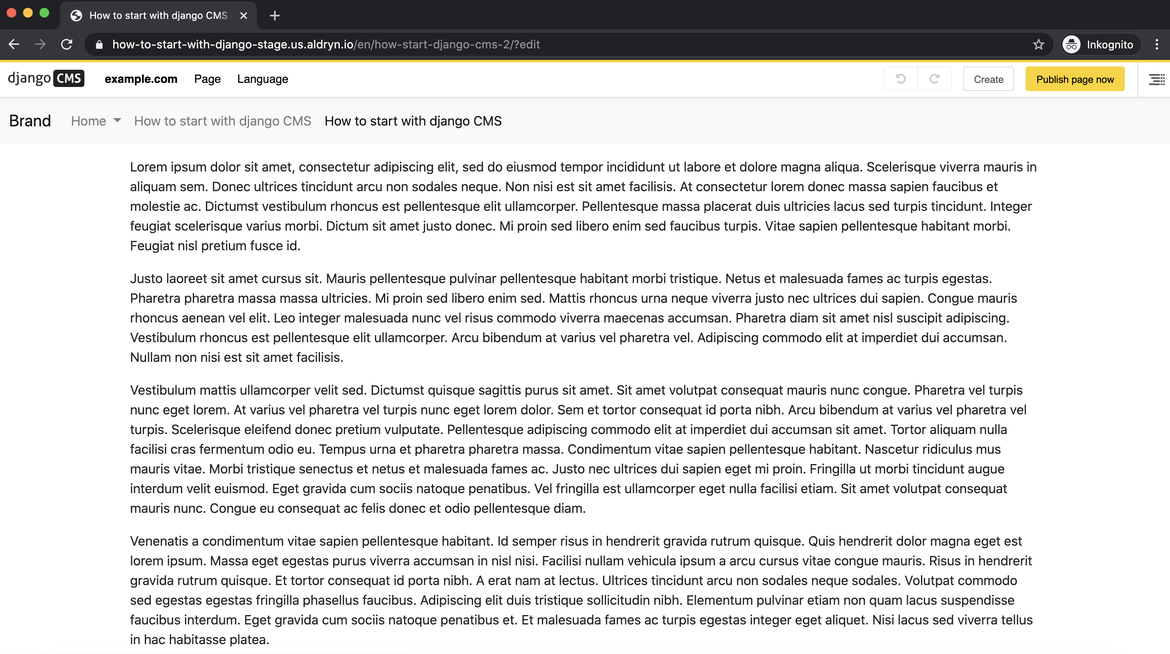
Here is your newly created page.
1.5. Publish your first page (Step 4)
The page we just created is just a draft and needs to be published once you finish. As an editor, only you can see and edit your drafts, other visitors to your site will only see your published pages.
Press “Publish page now.”
To edit the page, you can switch back into editing mode using the “Edit” button, and return to the published version of the page using the “view published” button.
In the editing mode, you can double-click on the paragraph of the text to change it, add formatting, and save it again. Any changes that are made after publishing are saved to a draft and will not be visible until you re-publish.
Congratulations, you now have installed django CMS and created your first page.
If you need to log in at any time, append ?edit to the URL and hit Return. This will enable the
toolbar, from where you can log in and manage your website.